
Combat, exploration and difficulty habits that make the demo smoother, from backdash attacks to secret walls.
Castlevania Tips and Tricks for Belmont's Curse
The fastest way to smooth out the demo is to attack right after a backdash for bonus damage, spend mana on healing before spells, clear every room to refill mana, whip upward in tall rooms to find hidden Anchors and walls, and tune one Custom Mode slider at a time instead of replaying a boss at default settings.
- Backdash attacks hit harder with the starting Longsword, so dodge with intent.
- Mana is one shared pool for spells and healing, refilled by kills.
- Hidden routes run vertical, and the demo hides its best weapon above a ceiling.
Build every fight around the backdash attack
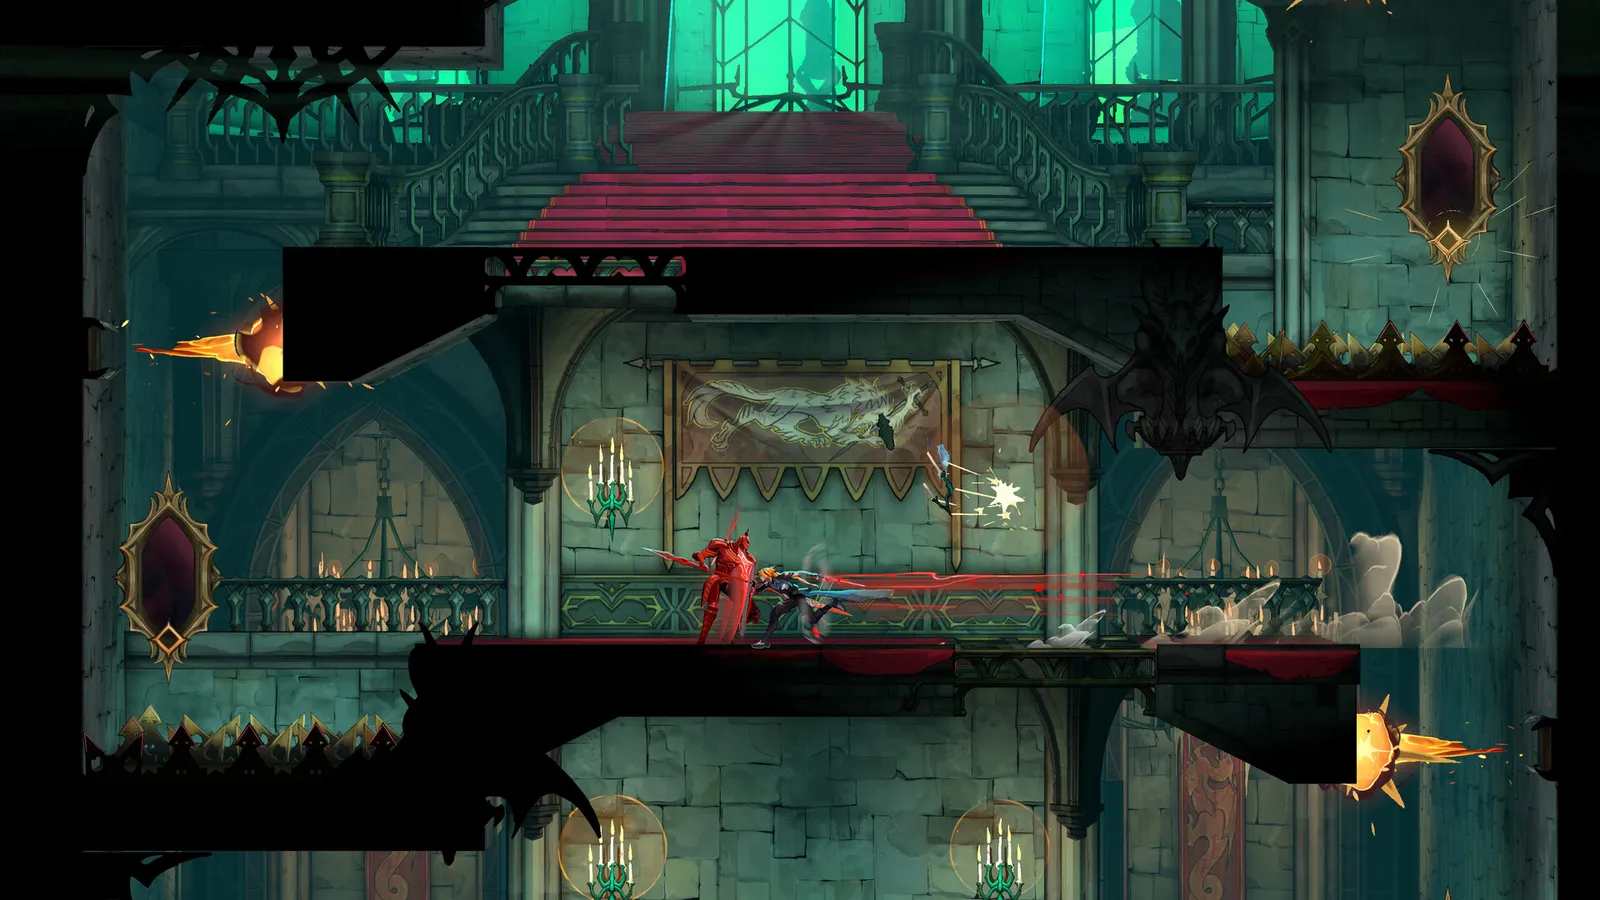
The Longsword Rose starts with is the balanced weapon, and its one published perk is extra damage when you attack immediately after a backdash. On PS5 the dodge input is Circle, and tapping it twice flips Rose backwards, which is the backdash the perk keys off. That single habit turns defense into offense: slide through an attack, land behind the enemy, and strike while the bonus window is open.
The same button carries the dodge invincibility frames the whole combat system leans on. PlayStation's hands-on describes survival as learning patterns, using those frames, and mastering Rose's attacks, and calls mistakes punished fast and hard but never unfair. The full button map and what each input does lives in the controls and difficulty guide.
Official source: Castlevania: Belmont's Curse hands-on report — Circle dodges and slides, double tap flips backwards, and the Longsword deals extra damage after a backdash.
New players burn the backdash as a pure escape and lose the bonus. Backdash sideways through a swing so you land in striking range, then attack at once. If you waited, you waited too long.
Treat mana as one pool with two mouths
Triangle casts spells and L1 heals, but both draw from the same mana bar, and that bar refills only by defeating enemies. There is no mana pickup. So every heal mid-fight is a spell you cannot cast, and every spell is a heal you gave up. The rule of thumb: heal before you spend on damage, because a dead Rose casts nothing.
Clearing the room is the refill, which changes routing. Do not sprint past weak enemies toward the boss door with an empty bar. Kill them, walk in full, and keep one spell worth of mana unspent for emergencies. The one Relic with a published effect, the Crypt Key, fully restores health and mana on every chest opened, which turns chest routing into resource planning. Relic rules and the three-slot cap are on the weapons and relics page.
Tune Custom Mode instead of quitting at a boss
Difficulty here is not an Easy or Hard picker. The demo has a Custom Mode screen under Settings, with sliders for damage dealt, damage received, EXP gained and maximum potions, plus toggles for respawning outside boss doors and preventing death. The clearest proof of intent comes from a preview session: stuck on The Fallen about 45 minutes in, the player was quietly advised by a developer to adjust the modifiers, and small tweaks later the boss fell.
| If this keeps happening | Change this first | Why it helps |
|---|---|---|
| The Fallen kills you in a few hits | Damage received down | Same fight timing, less punishment per mistake |
| You feel underleveled, not unskilled | EXP gained up | Levels arrive sooner through normal play |
| You run dry mid-room | Maximum potions up | More healing attempts per attempt |
| Boss retries cost long walks | Respawn outside boss doors on | Attempts start at the door |
| You only want to explore | Prevent death on | Removes the fail state while you learn the map |
Nobody has published the slider ranges or step sizes, so change one thing and test it. Moving everything at once lands you on an easy setting you never chose, and you will never learn which lever mattered.
Slider names here are player- and press-reported, not publisher-documented: Konami's own site never mentions Custom Mode in writing. The full table of reported modifiers and what is still unconfirmed is in the controls and difficulty guide.
Whip upward in every tall room
The map hides things above you, not beside you. Konami's hands-on describes destructible secret walls alongside areas that stay locked until you have the right skill, and the payload behind the breakable ones is occasionally a health-restoring meat pickup, a series staple. Nothing official counts the walls, so treat wall-breaking as a habit rather than a checklist with a counter.
The demo's one developer-flagged secret proves the point. Behind a ceiling route in the Sewer Reservoir, reachable only after beating The Fallen for the Arcane Whip, sits a chest with the Cestus gauntlets: whip straight up from the grate platform in the middle of the background staircase to reveal a hidden Anchor, hook it, and climb. The room beyond fills with enemies, so walk in healed. Step-by-step routing is in the demo secrets checklist, and the gloves themselves get the full treatment on the Cestus secret weapon page.
High ledges and ceiling alcoves off the main route also hold EXP statues, per multiple finished-demo reports. They unlock nothing and gate nothing. Grab them when the platforming is cheap, skip them when it is not.
Official source: Castlevania: Belmont's Curse — Game System — weapons span seven distinct categories and Relics trigger effects through both offense and defense.
Chain the whip into attacks, not just traversal
The Arcana Whip latches onto gold and purple Anchor points and onto enemies, and the grapple chains into an instant attack. The best documented payoff crosses into the Cestus: latch onto an enemy and punch right after, and Rose throws an Uppercut far harder than the gloves' short reach suggests. Practice the sequence on sewer mobs before trying it under boss pressure.
Bosses also drop an occasional weapon alongside the tarot card, with Joan's Burnt Sword of Fierbois the one named example. None of that is reachable in the demo, which covers the opening chapter across the Paris streets and sewers with a single boss. The fight that gates the whip is covered in the Fallen boss guide, and the whip's grapple rules are in the Arcana Whip traversal guide.
Spend checkpoints and saves like resources
Mirror of Life points are the demo's save spots, scattered through the opening chapter. Because the demo's secrets are mostly vertical and the Cestus route is unreachable before the whip, a checkpoint is also a re-sweep permit: save, backtrack through cleared rooms with new tools, and check the ceilings you rushed past.
The demo save transfers to the full version, but the rules are strict: same platform, same account, demo save retained, full version on its latest release. Konami confirms the transfer, not which items or discoveries come across, so treat demo secrets as demo secrets until launch. The demo guide confirms the demo covers the opening chapter, and community writeups like Rock Paper Shotgun's Cestus route show exactly how the hidden chest works.
Producer Tsutomu Taniguchi says the level-up system exists so newcomers can still play, with menu settings for those who still find it hard. Director Yukiko Hokao answers from the other side: the team did not want a simple or easy game, because that is not Castlevania. Read the pair together and the intended loop is clear: tune the sliders, learn the patterns, earn the win. The GamesRadar translation carries both quotes in full.
What to leave alone until the full game lands
Honest boundaries save more runs than guesses. No damage values, frame data, upgrade paths or drop tables are published for any weapon. The four unnamed weapon categories are a number, not names. The Crypt Key was found in a pre-release preview build, not confirmed for the demo. Whether Custom Mode affects trophies is unanswered on the forums. And the Arcana half, bosses sealed into Rose's tarot deck for spells and skills, is covered in the Arcana system guide. Anything past the demo stays unconfirmed until the October 15, 2026 launch.
FAQ
What is the single best beginner trick in Belmont's Curse? Attack immediately after a backdash. The starting Longsword deals bonus damage on exactly that input, and the dodge that sets it up carries invincibility frames. One habit, two payoffs.
How do I stop running out of healing? Heal with L1 before spending mana on spells, clear rooms fully since kills are the only mana refill, and route through chests if you hold the Crypt Key Relic. If potions are the bottleneck, raise the maximum potions slider in Custom Mode.
Where is the hidden weapon in the demo? The Cestus gauntlets sit in a chest above the Sewer Reservoir ceiling, reachable only after The Fallen grants the Arcane Whip. Whip upward from the grate platform on the background staircase to reveal the hidden Anchor.
Do secret walls hide anything mandatory? No. Breakable walls hold occasional meat pickups and EXP statues sit on high ledges, but nothing in the demo is gated behind them except the Cestus route, which needs the whip, not a wall break.
Related Guides
- Belmont's Curse Controls and Difficulty — the button map behind every trick on this page.
- Belmont's Curse Weapons and Relics Guide — what each named weapon and Relic actually does.
- Belmont's Curse Demo: All Secrets and Collectibles — the full verified-versus-reported secret list.
- How to Beat The Fallen — patterns for the boss that unlocks the whip.
- Cestus Secret Weapon Route — the hidden gauntlets and their Uppercut combo.
- Belmont's Curse Arcana System Explained — where spells and skills come from after each boss.
More Castlevania: Belmont's Curse Guides
How the Arcane Whip grapple, golden and purple Anchors, wall jumps and Chaos Shards work in the demo - the movement system that gates most secrets.
Many PC players boot to a black screen. Six community-confirmed fixes, ranked: cap refresh to 120Hz, enable VSync, delete PLAYERPREFS.sav.
Download it on PS5, Switch, Xbox or Steam. Covers the opening Paris Streets chapter, where the demo ends, and if progress carries over.
Konami's five conditions for demo progress to carry into the Oct 15 full game, and the mistakes that silently wipe your demo save.
The full demo route: Paris Streets, the sewers, every Mirror of Life, the three-key door and the The Fallen gate, in verified order.
The questions the demo release produced: release date, platforms, save transfer, Switch 2, editions, roguelike or not, bosses, cast and Steam Deck.
The 40th-anniversary 2D entry set 23 years after Castlevania III. Whether it works as a first Castlevania, plus where it sits in the series order.
Where the series hardest entries sit, what the demo says about this game's challenge, and how sliders tame it.